Create a project
The Projects page is the place to start when adding a new project. See the Projects introduction guide for more information.
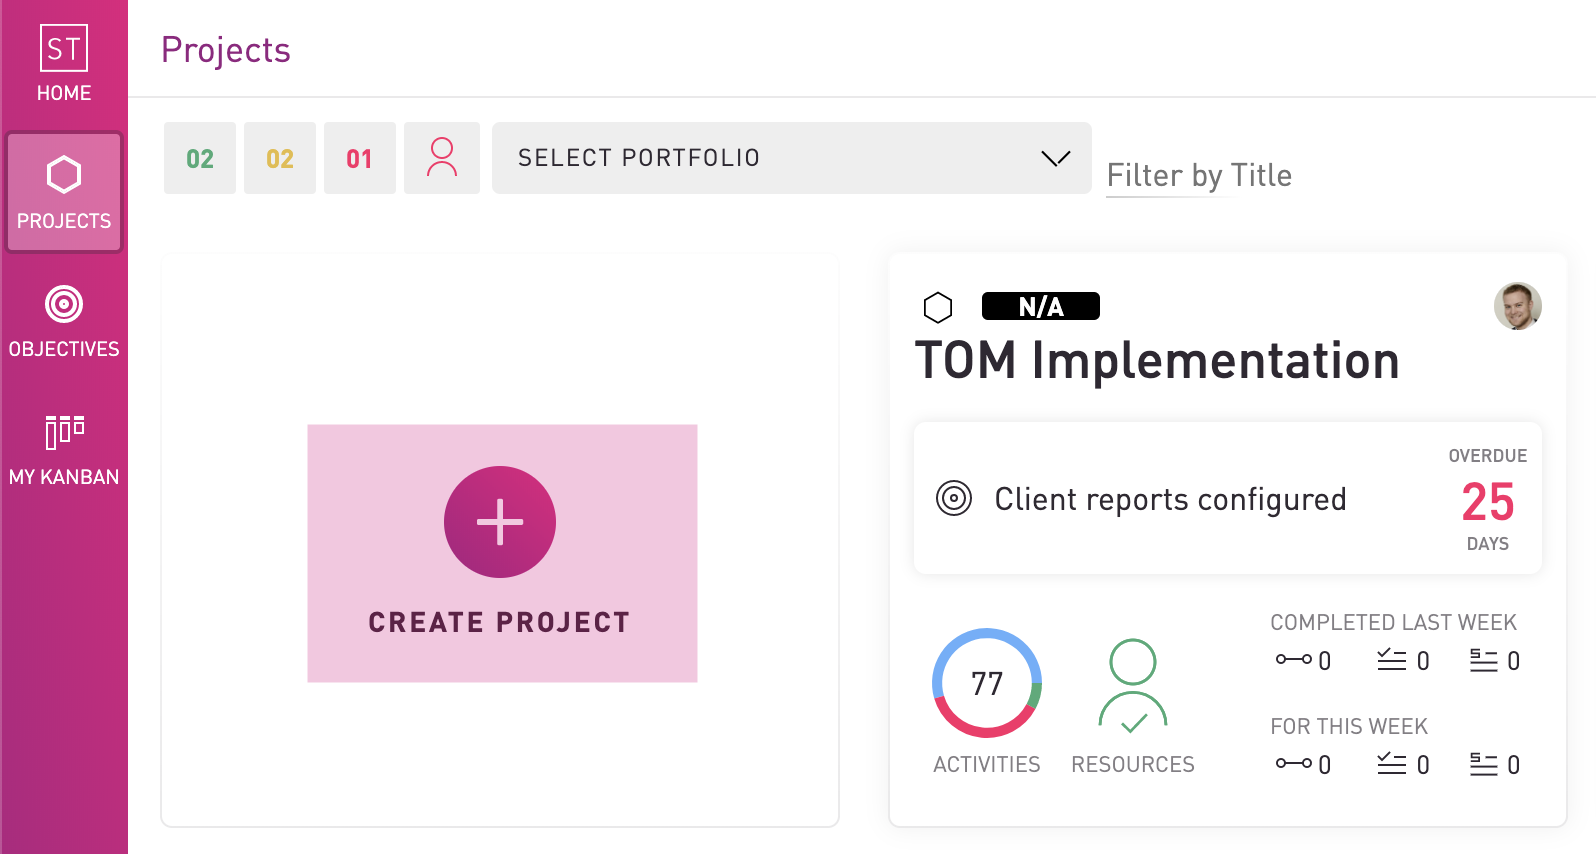
Start by clicking CREATE PROJECT.
Add the project details on the next screen.

Pick who has access to the project
Click PICK YOUR TEAM to add team members by searching for them - you can do this later if you prefer. At this stage you can also add a new user. For more guidance on adding new users, see this article.

Note: As the creator of the project, you are assigned as Project Manager. This can be changed by clicking your name and then selecting the desired person.
Select a template
The next (optional) step is to SELECT A TEMPLATE - organisations can use a template to ensure consistency in reporting (e.g. standardised naming convention for stage gates). For more information about templates, click here.
If you don't want to use a template, simply click CONTINUE TO PLAN and you can begin filling in the scope of your project.
If you do want to use a template, select the one you wish to use by clicking on it and then select a start date for your project (this is an important step as if you do not select a date, it will inherit the original dates from when the template was created).

Note: The date that you select here will determine the start date your plan activities work items and meetings.
Click USE THIS TEMPLATE when you're ready to progress. You'll receive a notification once the new project is ready.
Next steps

You then have the following options:
- LEARN HOW TO DRAW A PLAN will guide you through the process on this knowledge base.
- CREATE PLAN to go directly to creating your plan
- CREATE TASKS to add tasks to your new project.
Create a plan
You can find a guide to creating a plan here.